Fusion is the world’s most advanced compositing software for visual effects artists, broadcast and motion graphic designers, and 3D animators. Over the last 30 years, Fusion has been used on thousands of Hollywood blockbuster movies and television shows. Fusion features a powerful node based interface that lets you quickly and easily create sophisticated effects by connecting different types of image processing tools together! You get a massive range of tools, incredible VR and 3D support, GPU accelerated performance, unlimited network rendering and more! Fusion gives you everything you need to create exciting broadcast graphics, dramatic titles, and even major feature film visual effects!
Compositions you create on the Fusion page can now be saved as a template and used on the edit or cut page! New animation curve modifiers can be used to automatically retime animations when you change their duration in an edit. Audio playback with waveform display makes it easier to create precisely timed animations, there are shared markers with the edit page and more. In addition, 27 GPU accelerated Resolve FX have been added to the Fusion page, including the noise reduction and sharpening tools from the color page! New node view bookmarks make it easy to navigate large comps, the toolbar can be customized with your favorite tools, and vertical layouts are supported in the node editor.
Fusion effect templates let you create any effect imaginable and apply them to clips on the edit and cut pages! Simply build a composition, save it as a macro, define the parameters you want to make visible, and save it in the correct location. Just drag Fusion effect from the library onto any clip!

Animation curve modifiers let you easily stretch or squish keyframes and add bounce, mirror or loop animations that automatically change when the duration of the composition changes. When you drop Fusion titles or effects onto the timeline and change its duration, the animation adjusts accordingly!
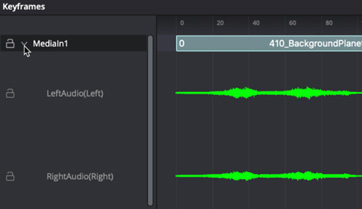
The Fusion page can now playback audio from the edit or cut page timeline. You can choose a mix down from the timeline, or you can listen to the source clip’s audio. Waveforms are displayed in the keyframe editor, allowing you to create precisely timed animations that are in sync with the audio!
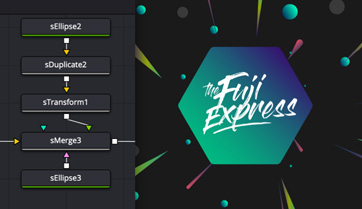
Vector shape tools make it easier to create motion graphics! You get ellipsis, rectangles, polygons and stars, along with boolean operators for combining shapes to create intricate designs. Grid, jitter, offset and transform, let you customize animations. Shapes can also be used as particle sources!
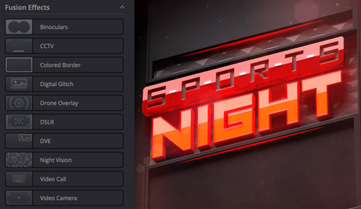
The Fusion page has 27 new GPU accelerated Resolve FX. This includes the color page’s noise reduction and sharpening tools, along with lens blur, light effects, color effects, revival image restoration tools and more. You also get texture and stylize, temporal effects, warping and beauty tools.
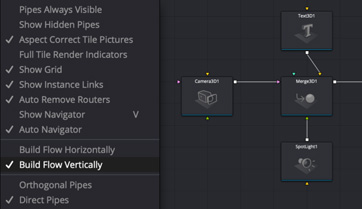
Node tree bookmarks let you quickly navigate to any part of the node tree in a large composition. Customizable toolbars let you quickly switch toolbars based on the current task. Vertical node tree layouts give you more room to view the spline and keyframe editors when creating animations, and more.


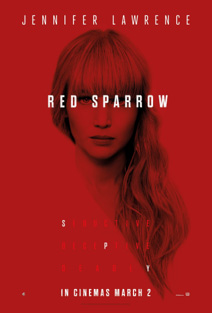


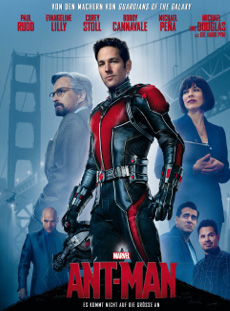
Thousands of Hollywood’s biggest blockbusters and hit television shows use Fusion to create their groundbreaking visual effects. Fusion has been used on feature films like Ant-Man, Red Sparrow and London Has Fallen, as well as hit television shows like Empire, NCIS and Emergence. Fusion also plays a major role in the development of cinematics for major video games such as Dawn of War III, Halo 5 and more!

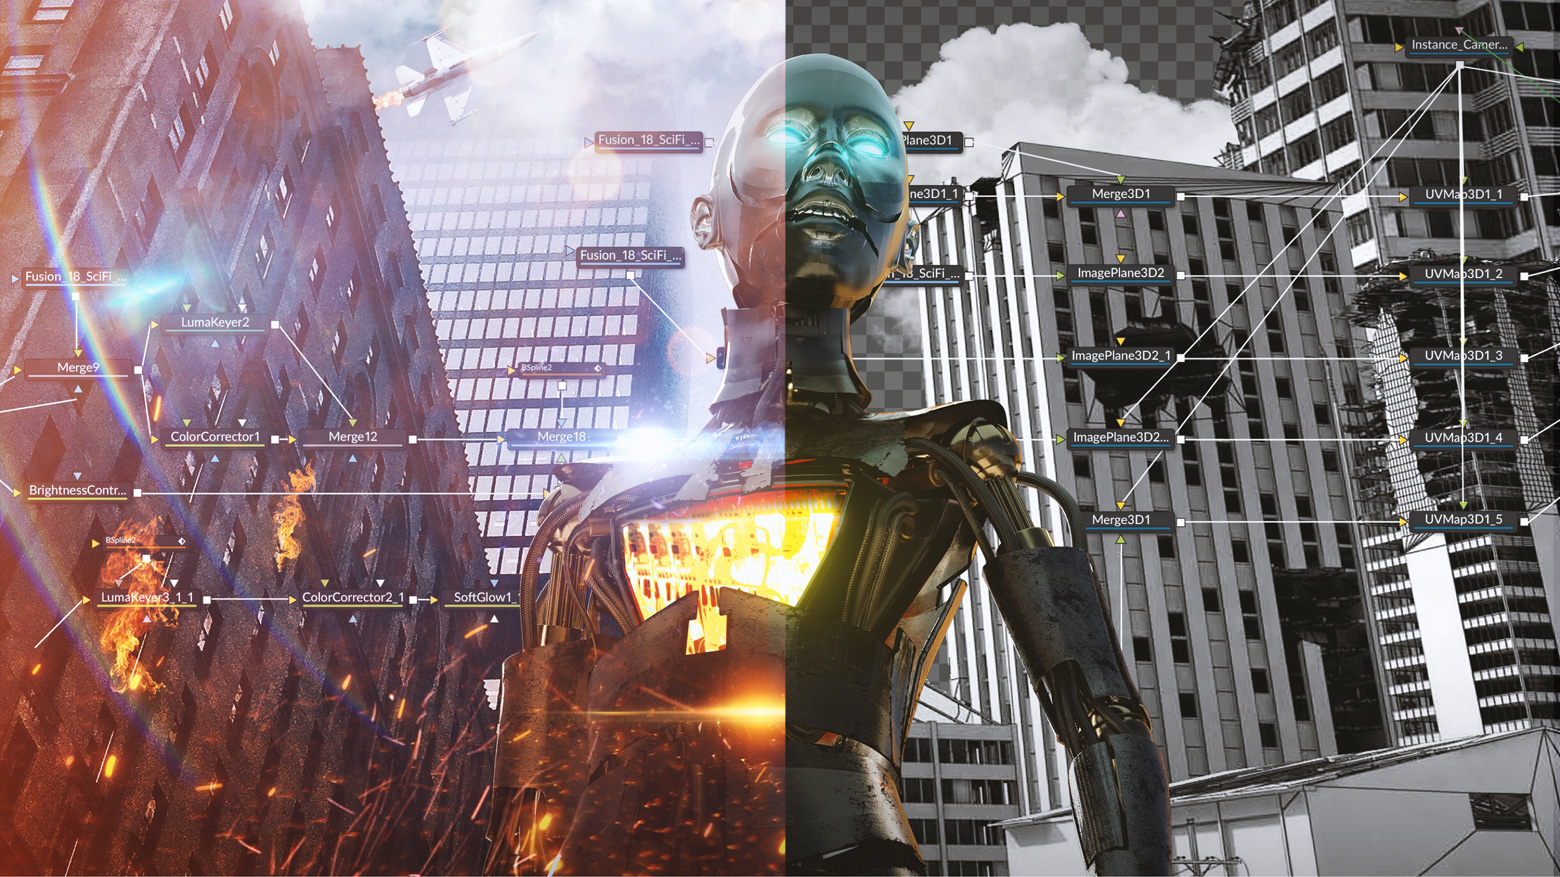
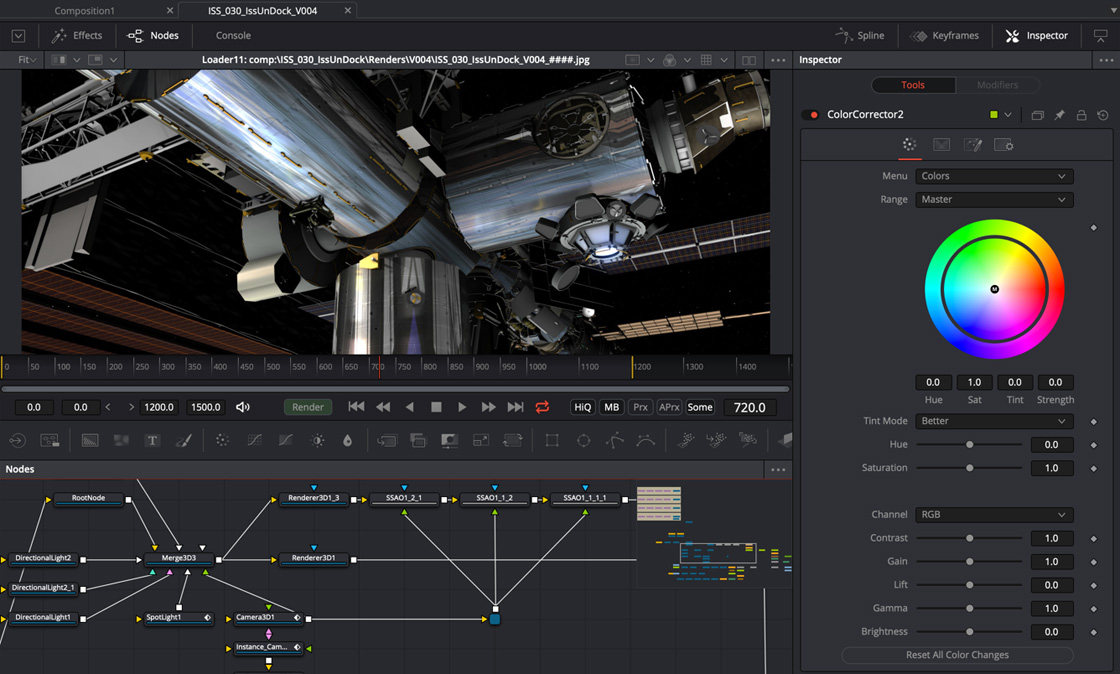
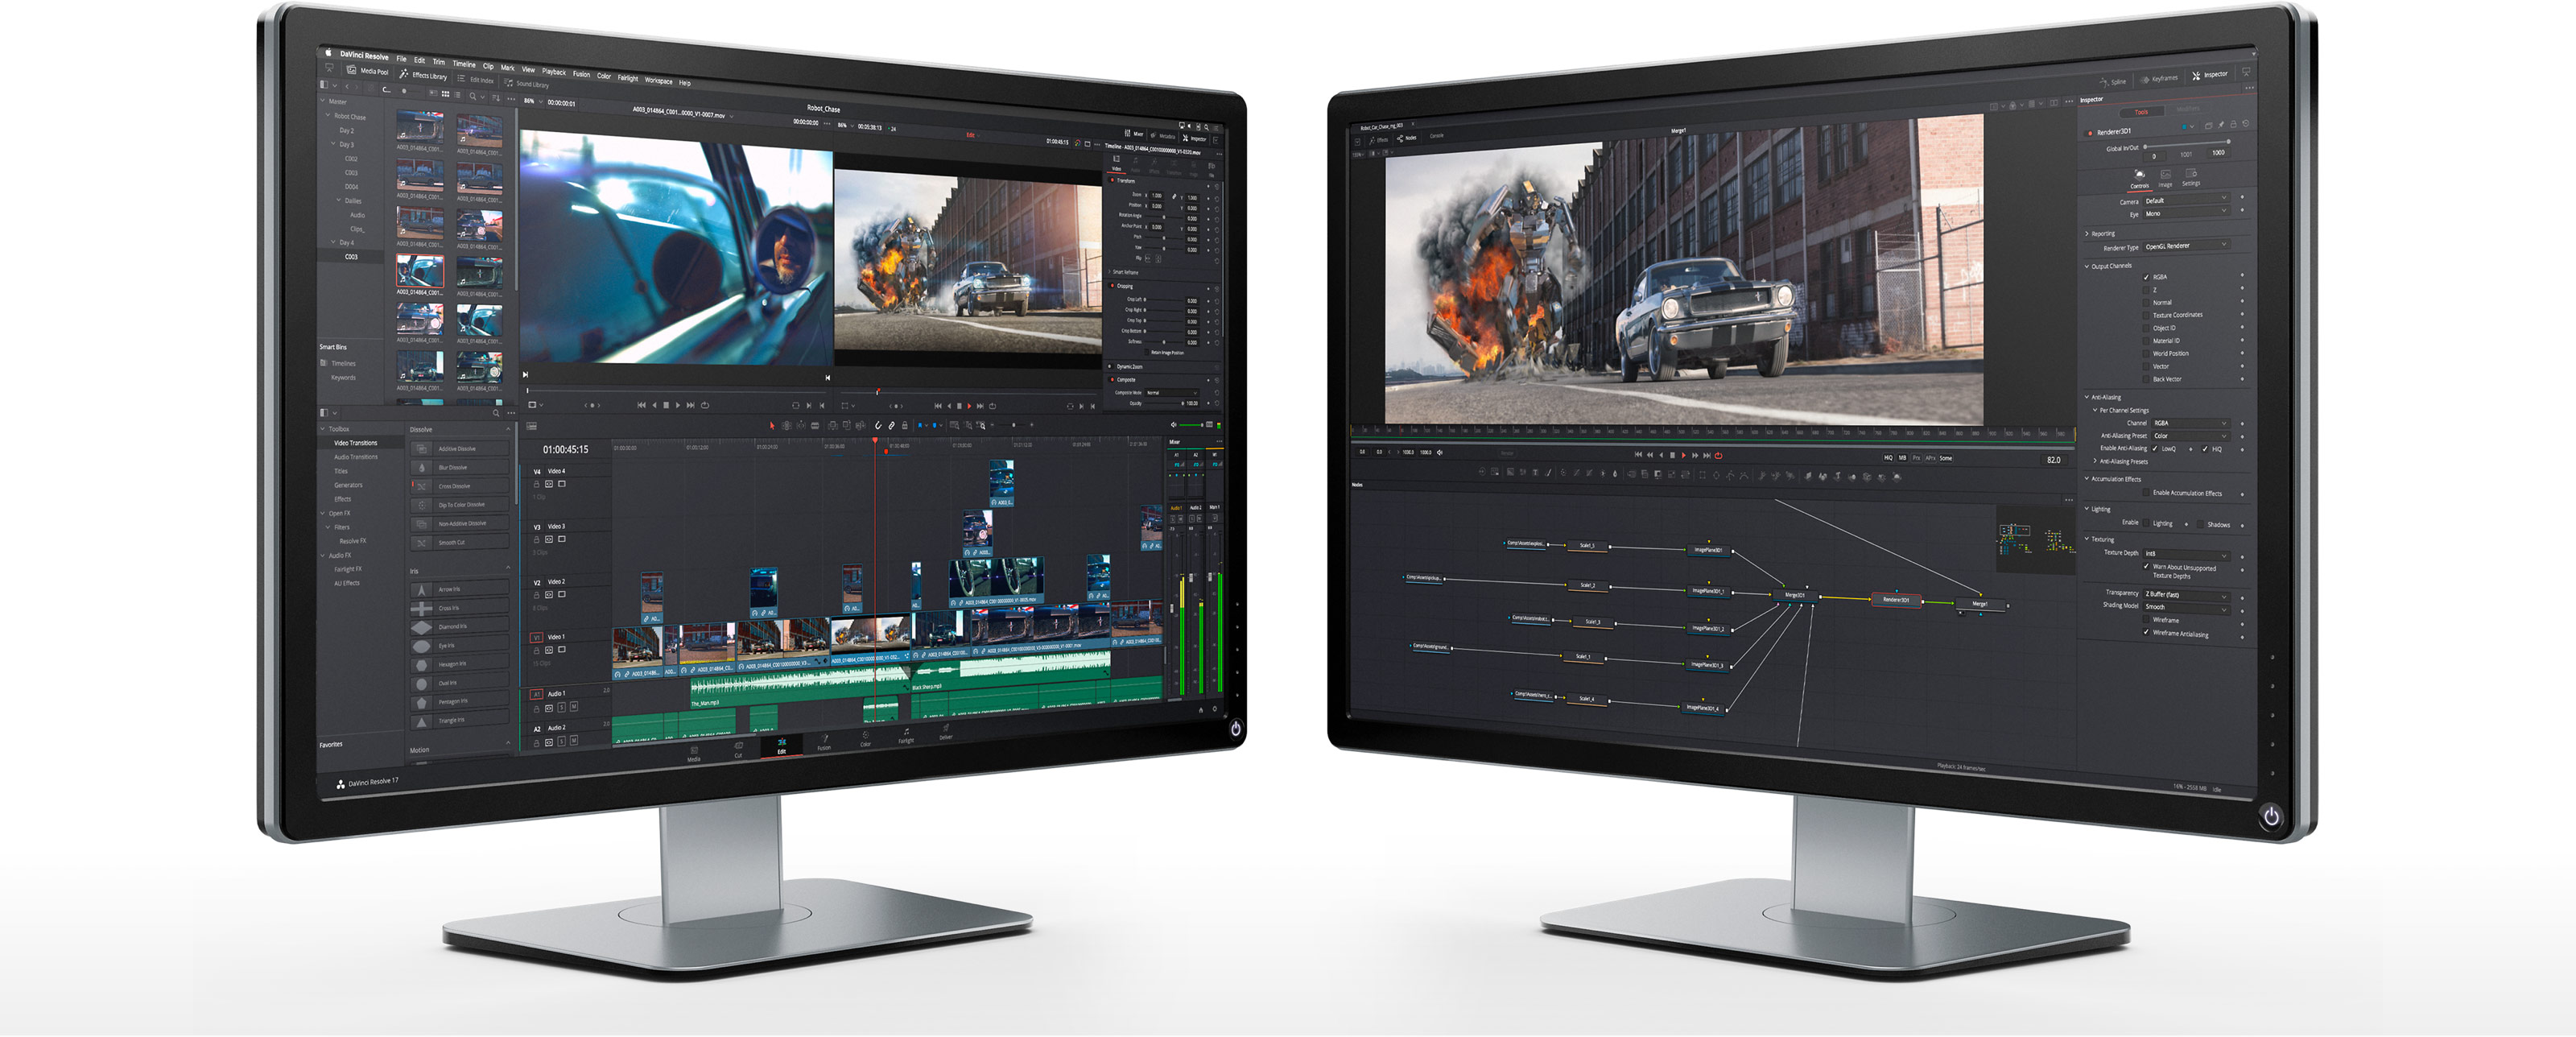
Nodes are incredibly easy to use, especially as scenes become more complex. Fusion’s nodes are small icons that represent effects, filters and other image processing operations. Nodes can be easily connected together to build larger and more complex visual effects. Tools, images, and objects can be combined in any order to create unlimited visual effects. Simply click on a node to quickly adjust any single part of your project. That’s much faster than a timeline based tool because you don’t need to hunt through nested stacks of confusing layers and filters!
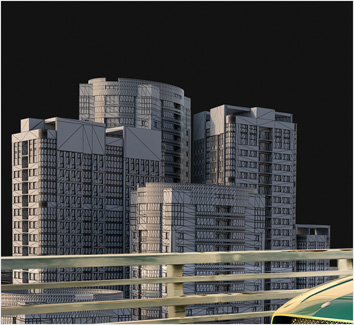
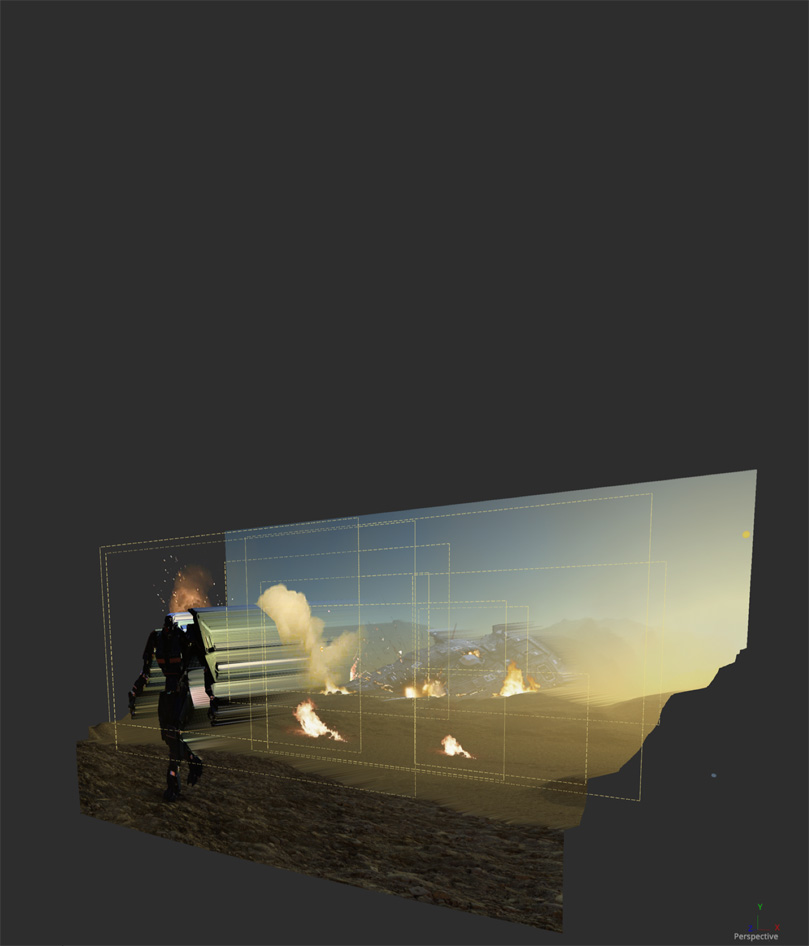
Whether you need to pull a key, track objects, retouch images, animate titles, or create amazing particle effects, Fusion has a massive toolset that lets you tackle the most demanding jobs. You get a true 3D workspace along with tools for compositing, keying, painting, animation, virtual reality, stereoscopic 3D and more. Fusion combines effects and motion graphics, along with 3D modeling and rendering into a single toolset. That means you can import and render 3D models and scenes with the rest of your composite in Fusion. You don’t have to pre‑render assets or transfer between multiple applications!


Powerful character generators let you create incredible animated 2D or 3D text and title sequences in any language!

Create advanced motion graphics with incredible depth using Fusion’s infinite 3D workspace to seamlessly combine vector graphics, live action and 3D objects!

Create amazing 3D animated particle effects with real world physics like gravity, wind, and collision so particles can interact with objects in your scene.
Combine live action with 3D models, cameras, lights and more in a true 3D workspace to create amazing, photorealistic effects and motion graphics.
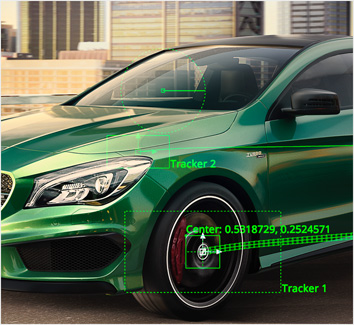
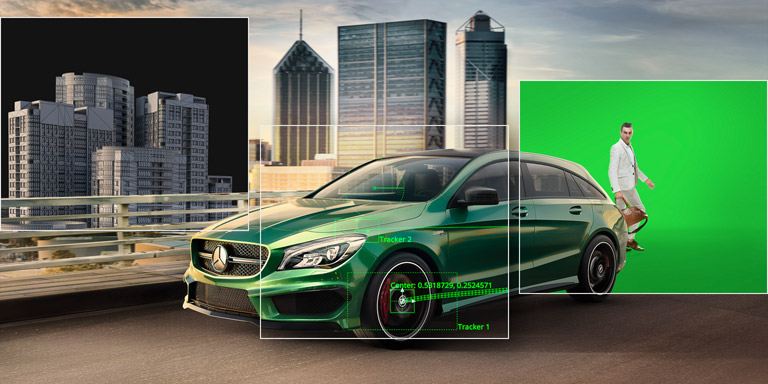
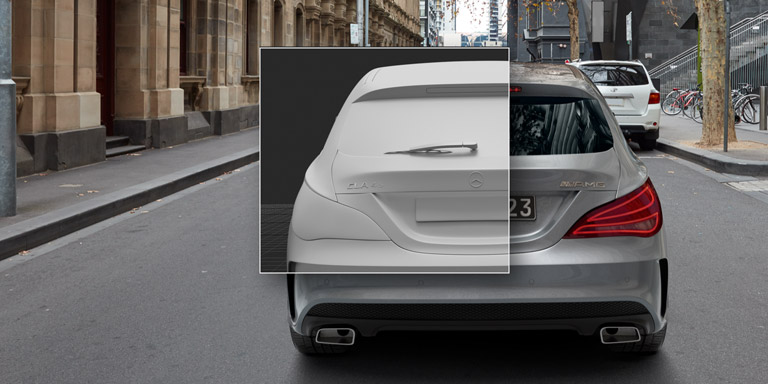
Match moves, stabilize cameras and track rotoscope points or paint strokes so objects and effects blend seamlessly and in perfect synchronization.
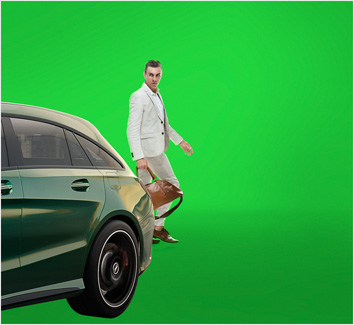
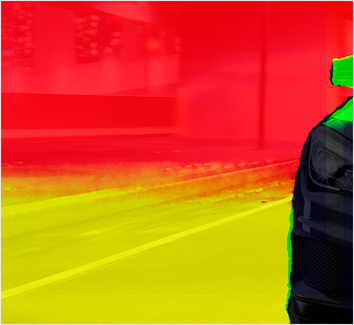
Key any element using the new Delta keyer, Ultra, Chroma, Luma and Differential keyers to create the best possible composite.
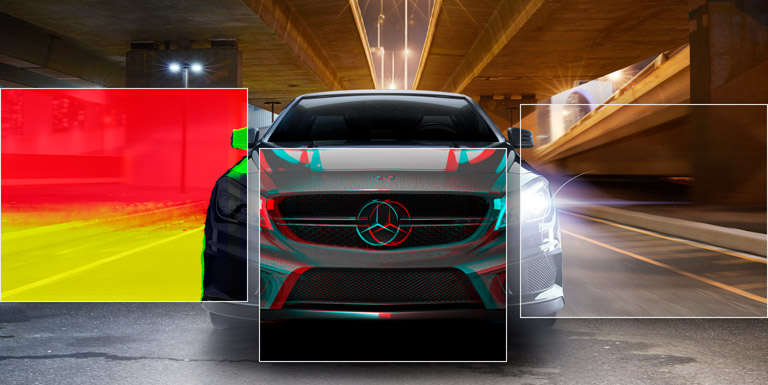
Fusion uses advanced optical flow algorithms to generate motion vectors so you can fix shots, retime, steady and morph images with astounding results!
Fusion includes the world’s most advanced camera matching, stereo alignment, convergence and spatialization tools for creating realistic, eye popping stereo 3D!
Fusion includes hundreds of built-in tools that can be combined together or, in Fusion Studio, with third party filters to create an unlimited number of effects!
Use the new Panoramic Viewer to work in 360º VR environments, or wear popular VR headsets and get incredible interactivity so you can see your work in realtime!
Take advantage of both RGB color and XYZ position information in each pixel when using OpenEXR files so you can blend 2D images with 3D elements like volumetric fog and lights with interactive control.
Columbia Pictures image from "Anonymous" courtesy Uncharted Territory Inc
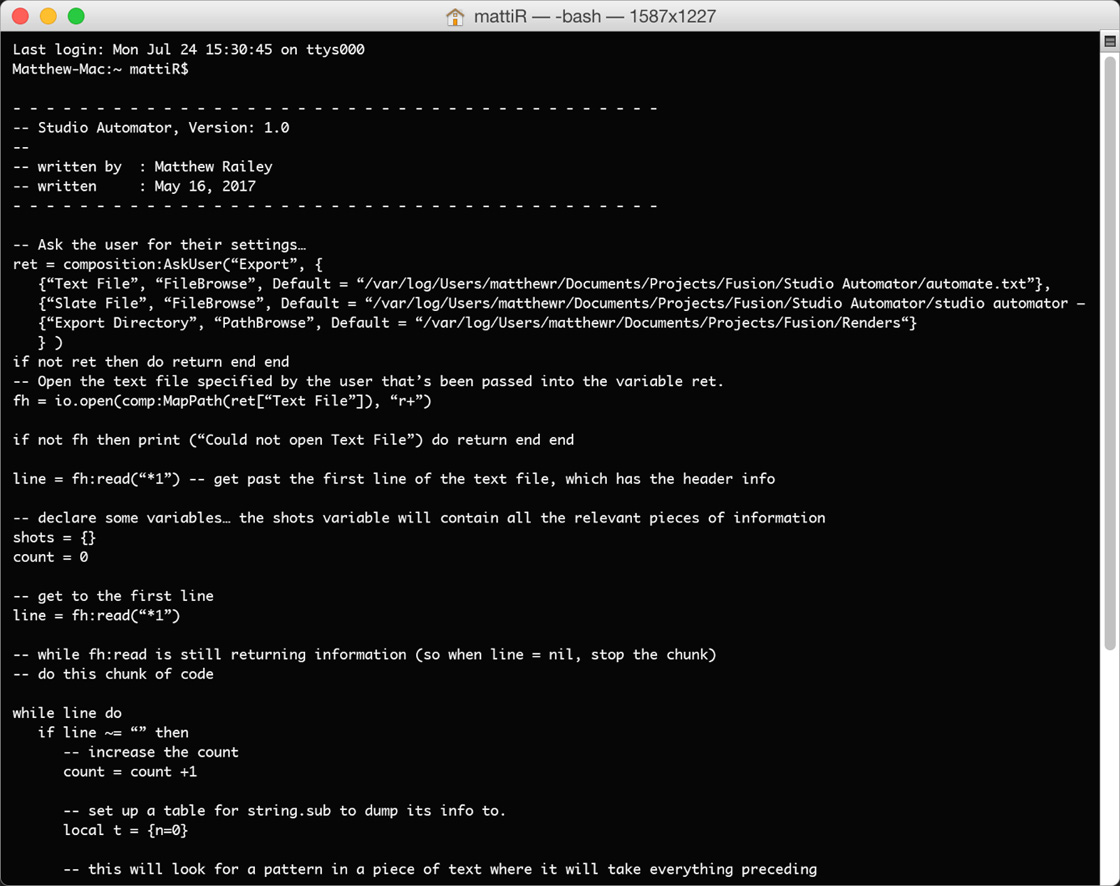
Built on an extensible and customizable framework, Fusion allows game developers, 3D feature film animators and media artists to use its open architecture to extend their own internal systems! Fusion supports both Lua and Python, a popular and intuitive scripting solution used by animators worldwide. You can save time by writing scripts to create custom tools, pass data back and forth between Fusion and other applications, automate repetitive tasks, and even add entirely new features!
Fusion is extremely fast and responsive enough to be used in high pressure, client driven sessions. With its Metal, CUDA and OpenCL GPU acceleration, you get instant feedback while you work so you can see exactly what you’re doing. Fusion 18 features more GPU pipelining than ever so whether you’re working alone or with a client, you get the real time control you need. That means you’ll be able to spend more time being creative and less time waiting! Fusion is so fast that you can even work in VR while wearing a headset and still get over 90 frames per second of interactivity!
Fusion has the world’s fastest production quality render engine! You can even distribute your render jobs across an unlimited number of networked computers for incredible performance, at no additional cost! There’s no “per node” render license fees. Simply install it on as many render nodes as you need! That means you can render complex scenes incredibly fast to meet the intense deadlines of production, without having to sacrifice creativity or quality.

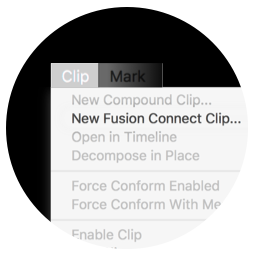
Fusion Connect lets DaVinci Resolve and Avid Media Composer editors take advantage of Fusion’s massive visual effects and motion graphics toolset, right from their timelines! Editors can select individual clips or layers of clips and send them to Fusion. A new Fusion composition is automatically created and linked dynamically back to the timeline. You can work on the VFX and motion graphics yourself or, if you’re on shared storage, let another artist work on them for you. Once the Fusion composition is rendered, the shots are automatically updated back in the DaVinci Resolve or Avid Media Composer timelines!
Download Fusion Connect
DaVinci Resolve
Fusion
When you’re working with a large creative team, DaVinci Resolve’s color management and API scripting allow automated creation of timelines for review and approval of VFX. This means shot review, storyboarding, version and annotation can be easily be shared with everyone on the team. Fusion Studio also features a bin server which means to see common assets you don't need to copy, paste and track multiple elements.

Hollywood’s most popular solution for editing, visual effects, motion graphics, color correction and audio post production, all in a single software tool for Mac, Windows and Linux!
GPU accelerated 2D and 3D compositing and motion graphics software with a massive toolset and node based workflow. You get paint, rotoscope, titling, animation, keying, 3D particle systems, advanced keyframe animation, unlimited distributed network rendering, 3D models and scenes support, and more.